
How to Choose a Lumbar Interbody Fusion Cage?
Choosing a lumbar interbody fusion cage is not a simple matter of selecting a material or matching a catalog size. The cage must fit the patient’s anatomy, the surgical approach, and the goals of the procedure. Small differences matter: footprint, height, shape, and angle can affect fit and support. Bone quality matters, too. A cage that looks suitable on a scan may still be a poor choice for a particular patient.
Spine researcher Dr. Richard A. Deyo has studied evidence and outcomes in lumbar fusion. A cautious paraphrase of a principle reflected in his work is: “A device choice should support a justified treatment plan, not serve as a promise of success.” This is a paraphrase, not a verified verbatim quotation. That distinction matters. Cage selection is only one part of a complex operation, and no design guarantees fusion or symptom relief.
This guide examines the practical questions behind cage selection: how approach and anatomy shape the options, what materials and designs may offer, and how surgeons weigh stability against risks such as subsidence. It also considers imaging, patient-specific factors, and the limits of available evidence. Details count. Yet no checklist can replace clinical judgment. The answer may be less tidy than a product comparison suggests—and that deserves careful thought.
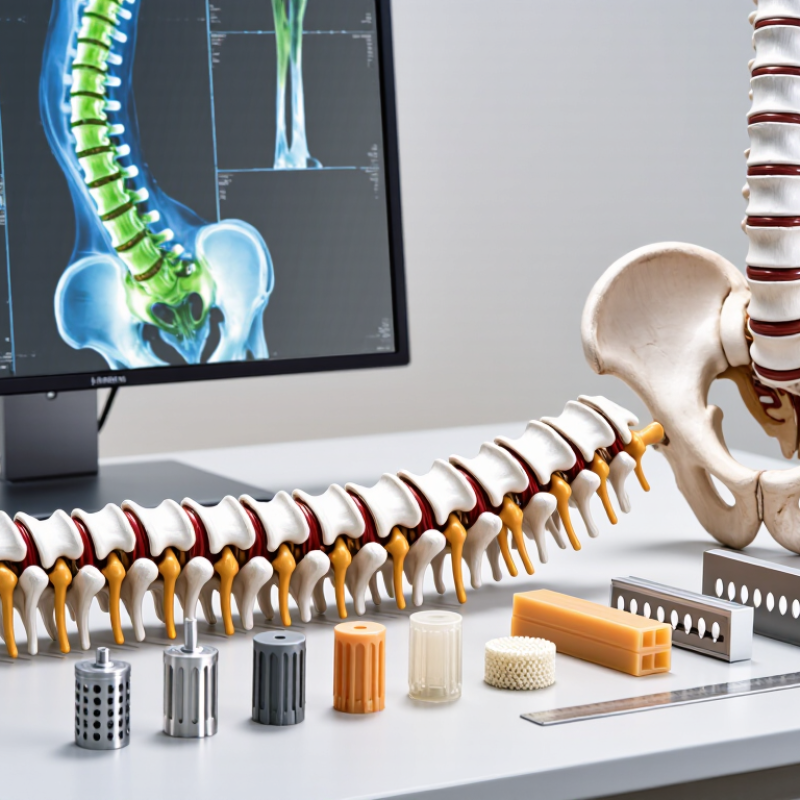
Define the Fusion Goal: One- or Two-Level Surgery and Patient-Specific Risks
Before comparing cage height, footprint, or material, clarify whether surgery is planned for one lumbar level or two. A single-level fusion may focus on restoring disc height and supporting the treated segment. With two levels, the surgeon must consider how both segments affect spinal alignment and load sharing. Two levels change the math. A larger footprint may help distribute forces, but cage choice depends on the patient’s anatomy and the surgical approach. Imaging helps assess disc space, bone shape, and existing alignment; it does not predict every operative challenge.
Patient-specific risks can shift the plan. Low bone density may affect how securely a cage is supported, while smoking, diabetes, or prior surgery can influence healing considerations. The surgeon may also weigh nerve symptoms, the degree of instability, and whether restoring the natural curve is important. Ask how the proposed cage fits the treatment goal at each level, and what alternatives exist if bone quality or anatomy differs from expectations. Plans are not always perfect on paper. A scan can suggest a straightforward fit, yet the final choice may need adjustment during surgery. The decision should come from reviewing the patient’s imaging, health history, and treatment priorities with a qualified spine surgeon.
How to Choose a Lumbar Interbody Fusion Cage? — Define the Fusion Goal: One- or Two-Level Surgery and Patient-Specific Risks
| Decision factor | One-level fusion | Two-level fusion | Patient-specific considerations |
|---|---|---|---|
| Primary surgical goal | Address the symptomatic motion segment while preserving motion at unaffected levels. | Stabilize two clinically relevant levels when symptoms, imaging, and examination support treatment at both. | Confirm that each proposed level is associated with the patient’s symptoms; imaging findings alone do not establish a need for fusion. |
| Level and approach planning | The selected level and approach depend on anatomy, pathology, prior surgery, and the surgeon’s treatment plan. | Planning must account for the position of both levels, access to each disc space, and the overall alignment objective. | Vascular anatomy, abdominal history, bone quality, neural anatomy, and previous operations may affect approach suitability. |
| Cage footprint and endplate support | Choose dimensions that provide appropriate disc-space coverage and fit the patient’s anatomy. | Consider fit and support separately at each level; the two disc spaces may differ in size and shape. | Preserving the structural endplate during preparation is important. Excessive endplate damage can increase the risk of cage subsidence. |
| Height and segmental alignment | Cage height and shape should support the intended disc-space restoration without over-distraction. | Plan segmental correction across both levels in the context of the overall lumbar alignment goal. | Excessive distraction may contribute to nerve-root symptoms or endplate injury. Alignment targets should be individualized rather than selected from a single universal value. |
| Fixation strategy | Determine whether supplemental fixation is appropriate based on stability, anatomy, and the planned procedure. | Assess construct stability across both levels and whether additional fixation is needed for the specific surgical plan. | Fixation decisions may be influenced by bone quality, instability, deformity, and the risk of nonunion. |
| Bone quality and subsidence risk | Review bone-health history and available imaging before selecting a cage and fixation plan. | Consider that a longer construct may place greater demands on the overall fixation strategy, especially when bone quality is poor. | Osteoporosis, low bone density, and fragile endplates may increase concern for subsidence or fixation failure. Bone-health assessment and optimization may be appropriate. |
| Fusion-healing risks | Estimate the likelihood of bone healing and discuss modifiable risks before surgery. | Review healing risks across the full planned construct; more treated levels do not guarantee symptom improvement. | Smoking, diabetes, certain medications, poor nutrition, and prior nonunion may affect healing. Individual risk and management should be discussed with the care team. |
| Evidence and expected benefit | Compare the expected benefit of treating the target level with the risks of surgery and alternative treatments. | Require a clear clinical rationale for including the second level and weigh additional operative exposure and recovery demands. | Outcomes vary by diagnosis, surgical technique, health status, and rehabilitation. A cage choice alone cannot ensure fusion or relieve symptoms. |
| Questions to discuss with the surgeon | Which findings identify this level as the source of symptoms? What are the alternatives and expected recovery? | What evidence supports treating both levels? How does the added level change the expected benefits and risks? | Ask how bone health, smoking, diabetes, prior surgery, and personal anatomy affect cage selection, fixation, and the plan to reduce complications. |
This table is a general educational guide, not a treatment recommendation. Cage selection and the decision to perform one- or two-level fusion require individualized evaluation by a qualified spine surgeon.
Related Posts
-
How to Choose Lumbar Interbody Fusion Implants in 2026?
-
How to Choose Lateral Lumbar Interbody Fusion Systems in 2026?
-

China Top Fusion Surgical Instrument Manufacturers?
-
Best Posterior Lumbar Interbody Options for Your Needs?
-
What is Anterior Interbody Fusion in Spine Surgery?
-

Top 10 Disc Fusion Treatments for Global Buyers in 2026?